

Decorating your home with beautiful wall art is one of the easiest ways to make any space feel warm and inviting. Among all décor choices, canvas wall art stands out for its elegance, simplicity, and timeless appeal. But to make your artwork truly shine, you need to know how to hang canvas wall art the right way.
In this hanging hanging canvas wall art guide, we’ll go through every step from gathering the right tools to creating a stylish gallery wall. Whether you’re decorating a bedroom, living room, or office, this guide will make it easy for anyone from kids to older adults to hang their canvas like a pro.
Step 1: Gather the Tools and Materials You Need
Before you start hanging canvas wall art, collect all the tools and materials you’ll need. Having everything ready saves time and helps you hang your art perfectly the first time.
Here’s what you’ll need:
- Measuring tape
- Pencil
- Level (a small one works great)
- Hammer
- Nails or wall hooks
- Painter’s tape (optional for marking)
- Hanging wire or sawtooth hangers (depending on your canvas type)
Tip: Always check the back of your canvas. Some come with built-in hangers, while others may need simple attachments before hanging.

Optional Tools for Large or Heavy Canvas
For canvas prints over 15 lbs or large-format wall art, consider:
- Masonry anchors (for brick or concrete walls)
- French cleat system (for heavy-duty support)
- D-rings or sawtooth hangers
- Hanging wire
- Double-anchor mounting method
Step 2: Choose the Right Spot for Your Art
Before drilling or hammering, think about where your art will look best. The location of your canvas wall art can change the mood of the entire room.
Things to consider:
- Natural light Too much sunlight can fade your canvas over time.
- Wall color Light walls make colorful art pop, while dark walls suit bright, bold prints.
- Furniture layout Art should complement your furniture, not compete with it.
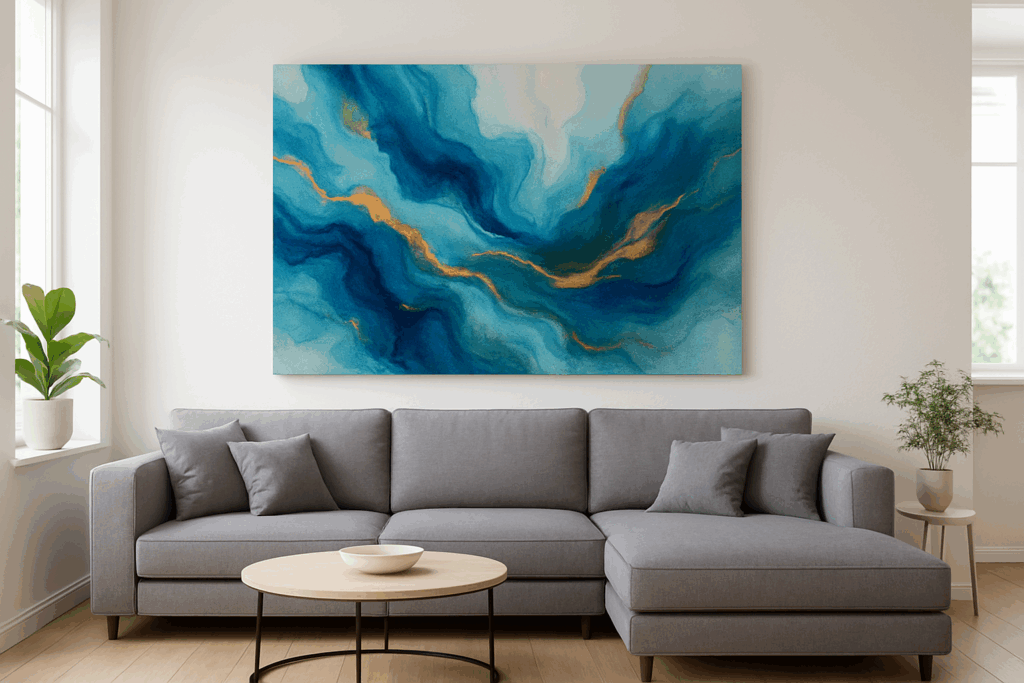
If you’re hanging canvas wall art above furniture, like a couch or a bed, leave about 6 to 10 inches of space between the top of the furniture and the bottom of the canvas.
Consider Your Wall Type Before Hanging
Drywall:
Use wall anchors or mount directly into a stud for heavy canvas.
Plaster Walls:
Pre-drill carefully to prevent cracking.
Brick or Concrete:
Use masonry drill bits and expansion anchors.
Stud Walls:
Best option for hanging large or heavy canvas art securely.
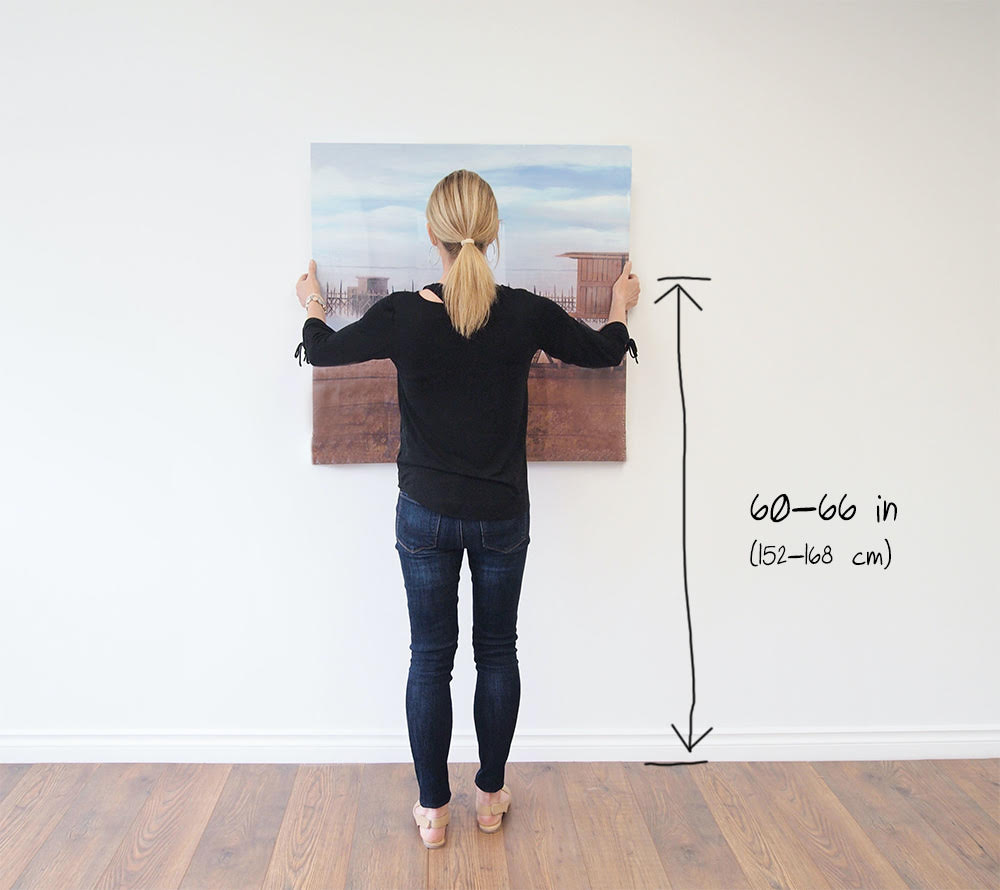
Step 3: Follow the Right Height Rules
Knowing the right height makes a big difference in how your art looks. One of the most common mistakes people make when learning how to hang canvas wall art is placing it too high.
General rule of thumb:
Hang the center of your canvas at eye level about 57 to 60 inches from the floor.
This height looks natural for most rooms and works for both single pieces and gallery setups.
If you’re hanging multiple canvas wall art panels, such as a 3-panel or 5-panel set, treat the entire layout as one large piece. Measure from the center point of the full display, not each canvas separately.
Hanging Canvas Above Furniture
Position the bottom of the canvas about 6–8 inches above sofas, beds, or consoles.
The 2/3 Width Rule
Your canvas should span roughly two-thirds the width of the furniture beneath it to create proportion and visual harmony
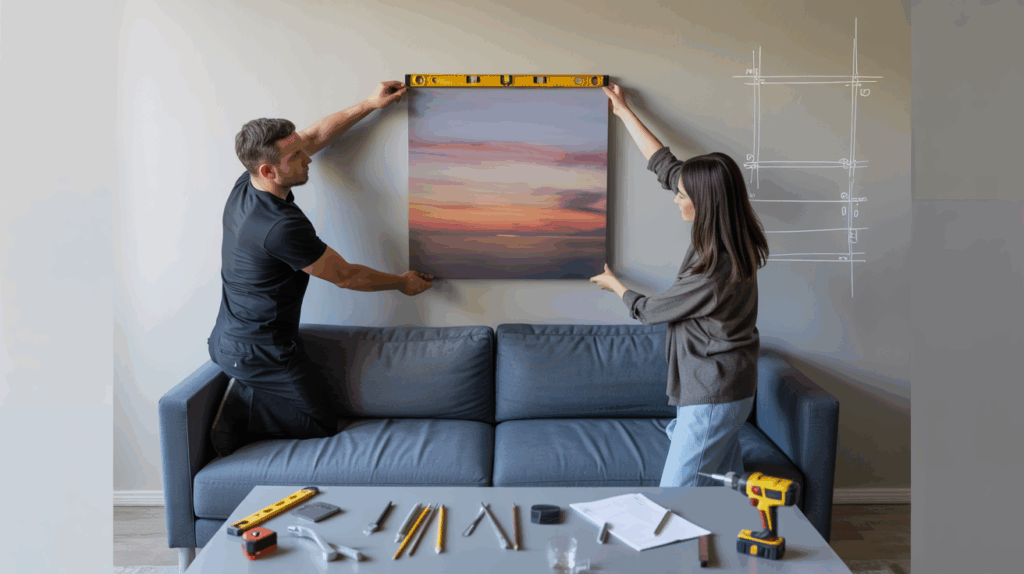
Step 4: Mark and Measure Carefully
When it comes to the best way to hang canvas wall prints, precision matters. Take your time to measure and mark before you pick up the hammer.
Here’s how to do it easily:
- Measure your wall space and the width of your canvas.
- Find the midpoint on your wall where the canvas center will align.
- Use painter’s tape to mark where the top and bottom edges of the canvas will be.
- Step back and look at it does it feel centered and balanced?
If it looks off, adjust your markings before making holes in the wall.
The Toothpaste Trick for Perfect Nail Placement
Apply a small dab of toothpaste to the back hanger. Press the canvas gently against the wall. The toothpaste leaves an exact mark where your nail should go a popular DIY alignment hack.
Step 5: Hang with Confidence
Once your measurements are in place, it’s time to hang your art!
- For small canvases, simple nails or picture hooks work perfectly.
- For heavier canvases, use wall anchors or screws for extra strength.
- If your canvas has a hanging wire, place it over the hook and make sure it’s level.
Use your level tool to double-check that the canvas isn’t tilted. A small adjustment can make your setup look clean and professional.
Hanging Lightweight Canvas (Under 5 lbs)
- Use finishing nails
- Sawtooth hangers work well
- Adhesive strips (for renters)
Hanging Medium-Weight Canvas (5–15 lbs)
- Screws + drywall anchors
- Wire hanging system
- D-rings for better support
Hanging Heavy Canvas (15+ lbs)
- Mount into wall studs
- Use heavy-duty anchors
- Consider French cleat system
- Double-anchor method for stability
Always check weight capacity before installation.
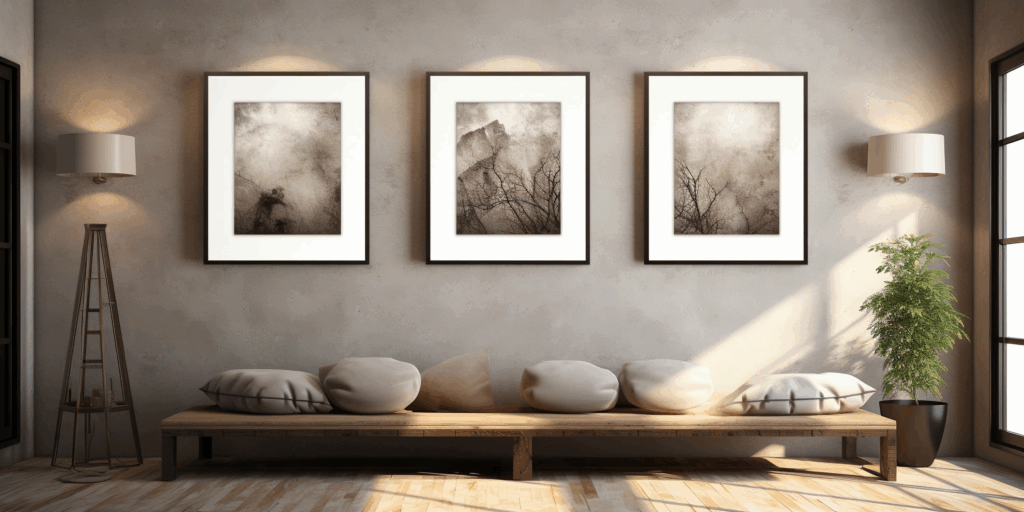
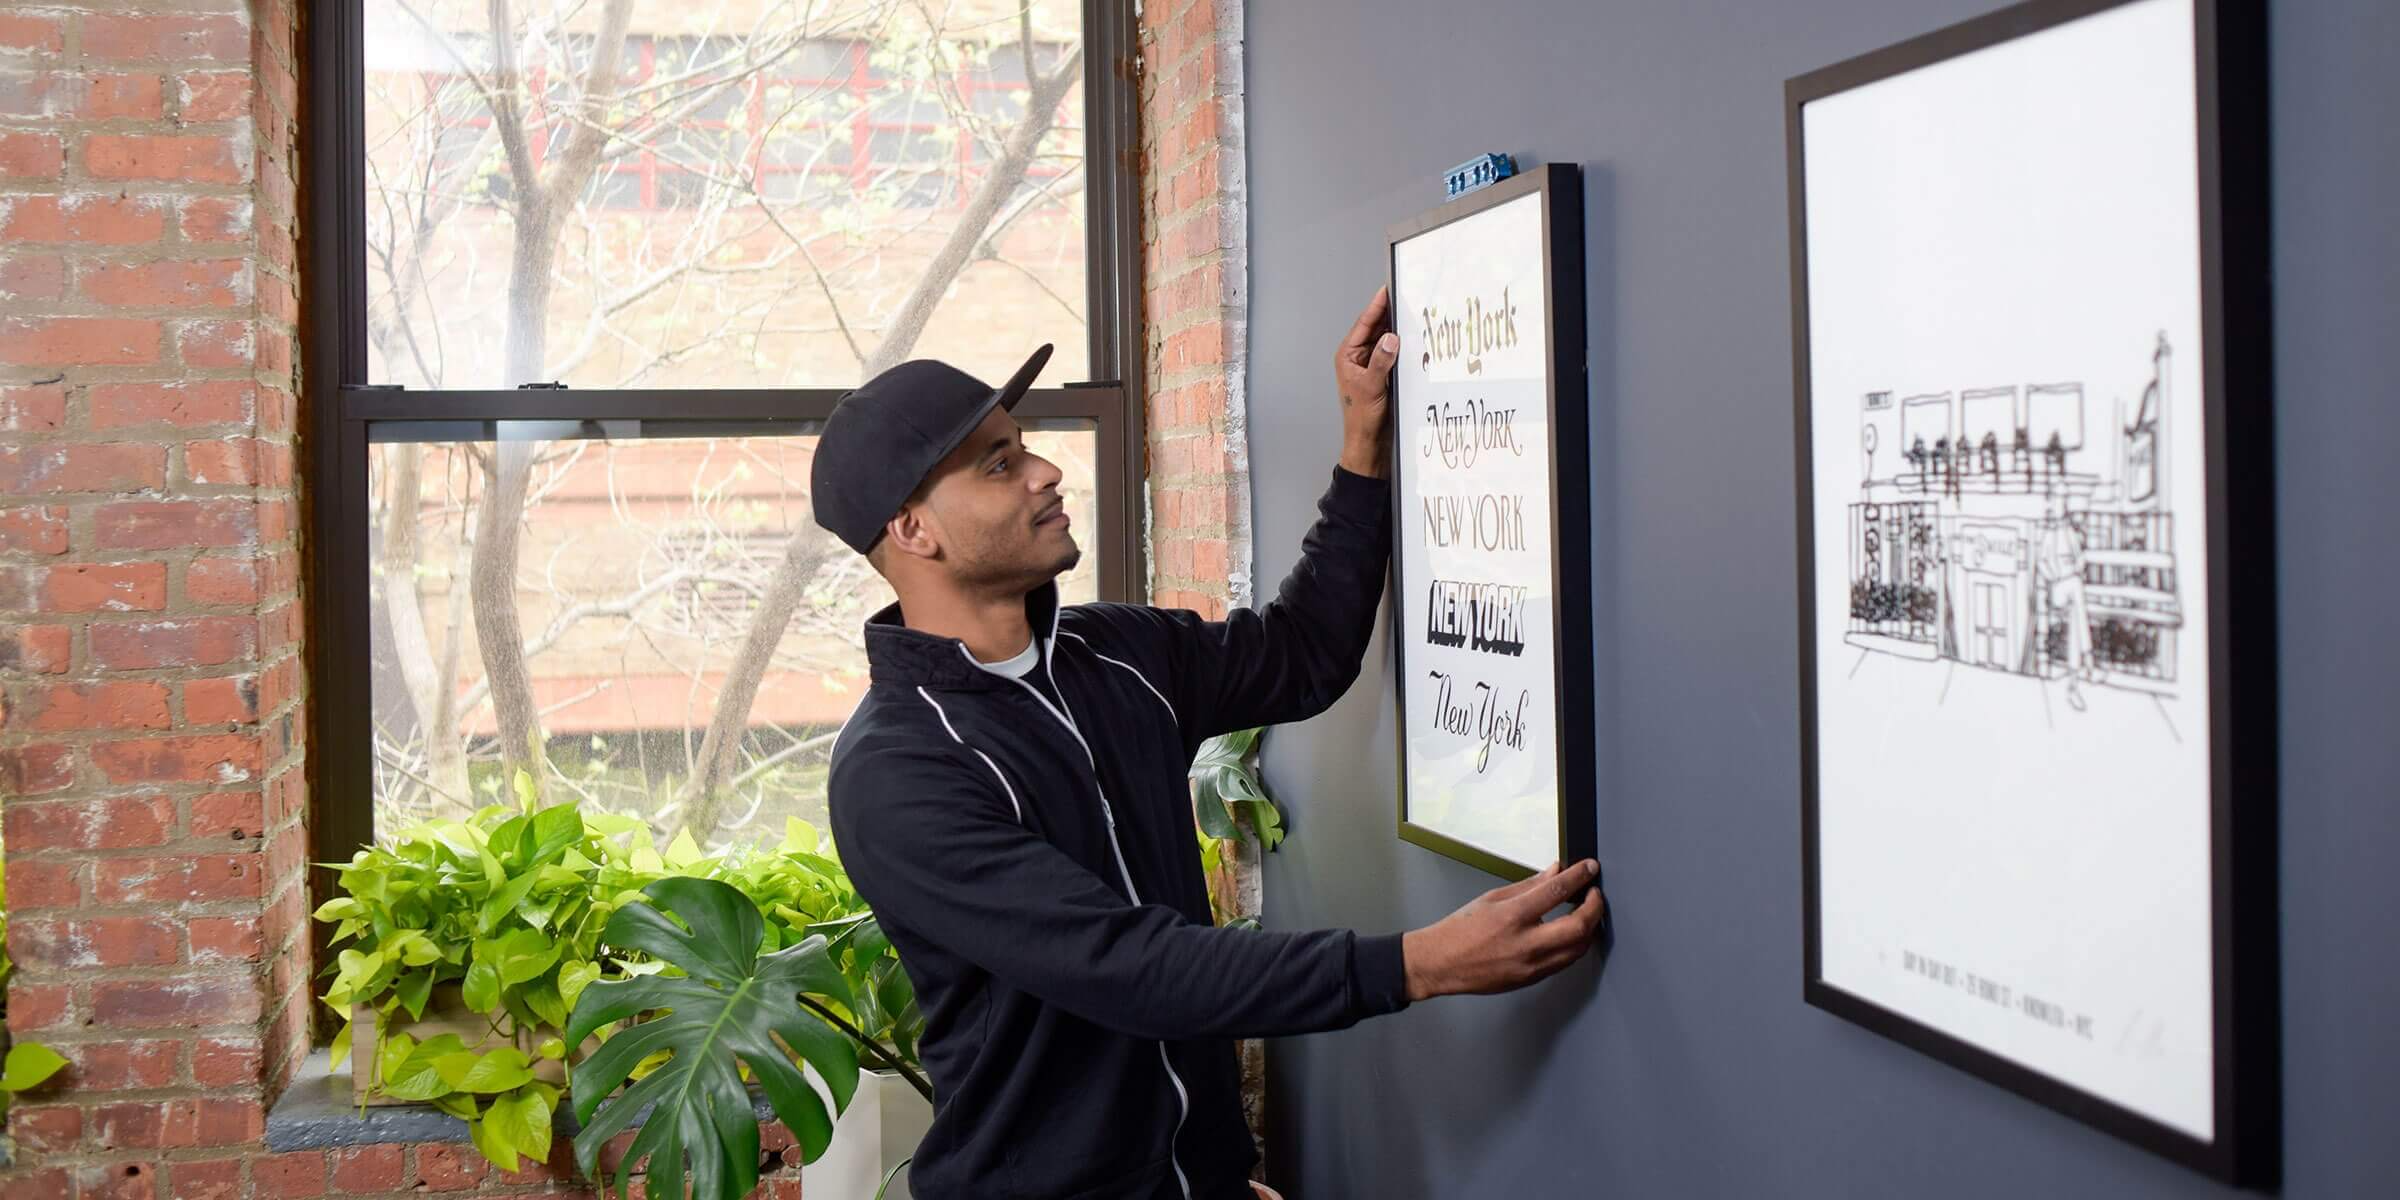
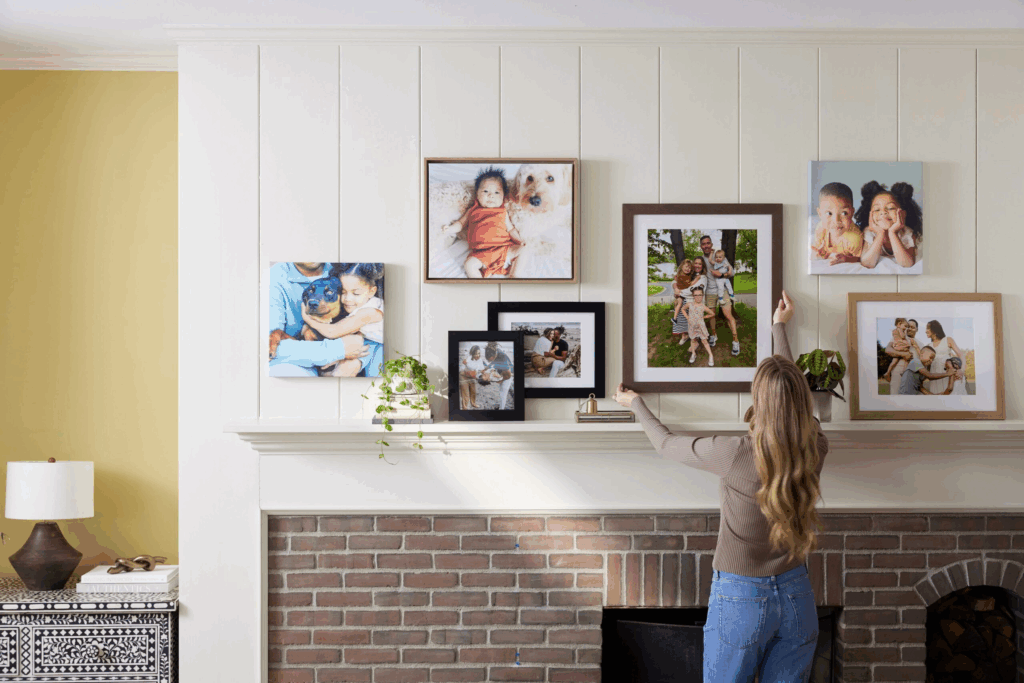
Step 6: Create a Gallery Wall Setup (Optional)
If you love a creative display, try hanging multiple canvas wall art panels or making a gallery wall. This setup looks fantastic in large living rooms, hallways, and stairways.
Tips for a perfect gallery wall:
- Start by placing your biggest canvas in the center.
- Arrange smaller pieces around it, keeping even spacing between each canvas (about 2–3 inches).
- Use paper templates or painter’s tape to visualize your layout before drilling.
A gallery wall lets you mix sizes, colors, and themes for example, combine family photos, nature scenes, and inspirational quotes.
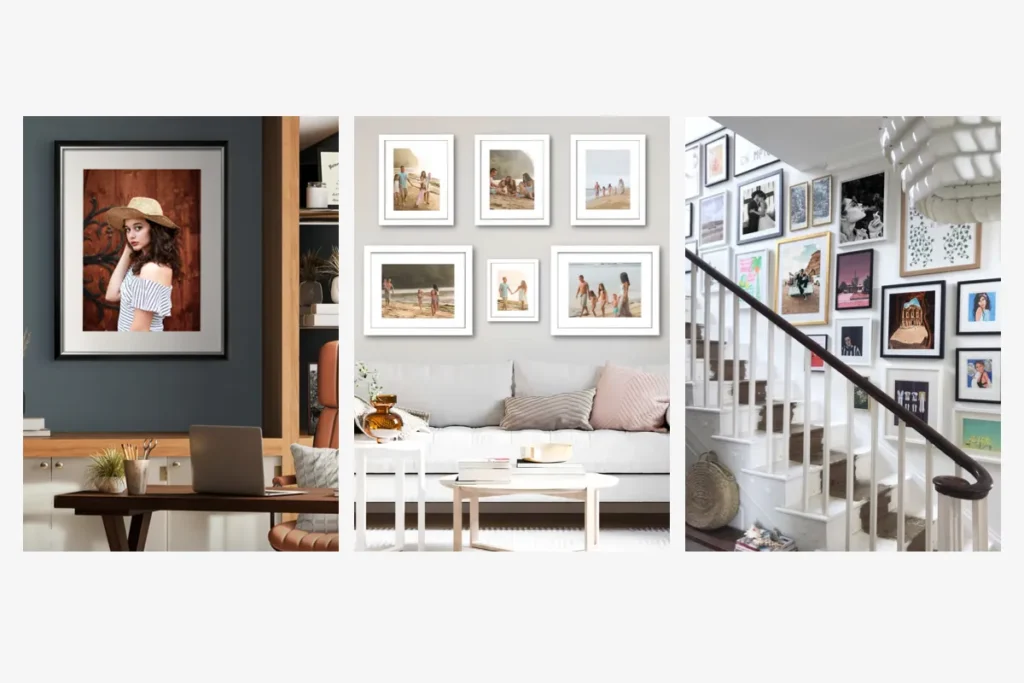
Hanging Multi-Panel Canvas (Triptych & 5-Piece Art)
- Hang the center panel first
- Keep equal spacing between panels
- Ensure horizontal alignment
- Maintain consistent visual balance
Step 7: Adjust and Perfect Your Display
After hanging, step back and look at your wall from different angles. Good lighting and balance are key to making your art look amazing.
- If your canvas seems crooked, gently adjust one side.
- If you have track or accent lighting, point it toward your favorite piece.
- Try different arrangements until you find one that feels “just right.”
Remember, the best way to hang canvas wall prints is the one that makes your space feel personal and beautiful.
Fixing a Crooked Canvas
- Adjust nail depth
- Add rubber bumpers
- Re-level using a bubble level
Preventing Wall Damage
- Avoid oversized drill holes
- Use correct anchor type
- Patch holes properly if repositioning
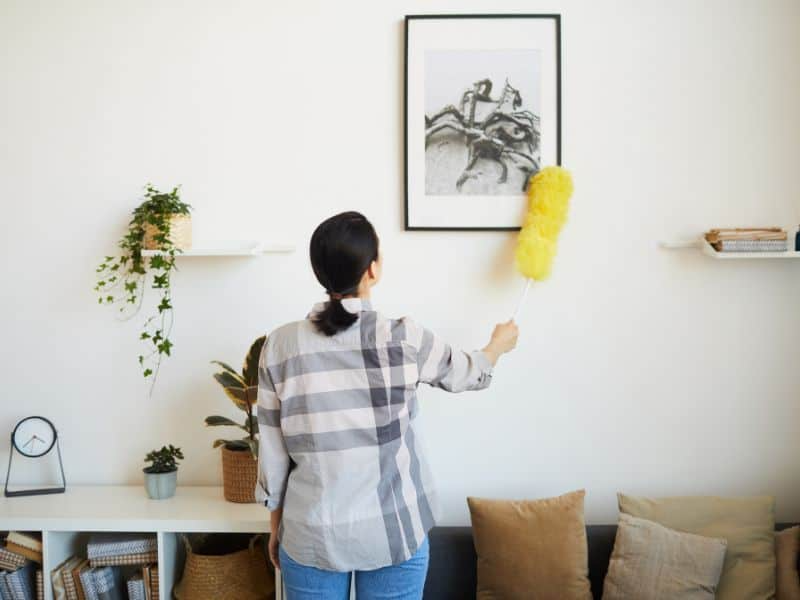
Step 8: Care for Your Canvas Art
Once your art is up, taking care of it will help it last for years.
Simple maintenance tips:
- Dust your canvas gently with a soft, dry cloth.
- Avoid spraying cleaners or water directly on it.
- Keep it out of direct sunlight to prevent fading.
- Move it carefully when rearranging rooms.
Following these small steps keeps your canvas vibrant and long-lasting.
Step 9: Experiment with Style and Placement
Don’t be afraid to get creative! There’s no single rule for how to hang canvas wall art it’s about what looks and feels right in your space.
Try placing small canvases in unexpected spots like corners, entryways, or even bathrooms. Mix large and small pieces for contrast. You can also layer your canvases on shelves instead of hanging them for a cozy, artistic touch.
Renter-Friendly Ways to Hang Canvas Wall Art
If you want to avoid drilling:
- Use heavy-duty adhesive strips
- Command hooks
- Removable hanging systems
- Check maximum weight limit
Best for lightweight canvas prints under 10 lbs.
Step 10: Enjoy Your Work
Now that your art is perfectly placed, step back and admire your creation! Hanging canvas wall art isn’t just about decoration it’s about expressing your style, creativity, and personality.
Whether you followed this canvas wall art hanging guide for your bedroom, office, or living room, you’ve added something truly special to your space.
Your home now tells a story one filled with color, balance, and inspiration.
Frequently Asked Questions
How high should canvas wall art be hung?
At eye level typically 57–60 inches from the floor.
Can you hang heavy canvas without a stud?
Yes, using heavy-duty drywall anchors or a French cleat system.
What is the best way to hang multi-panel wall art?
Start with the center panel and maintain 1–3 inches spacing between panels.
Can you hang canvas without nails?
Yes, using adhesive strips or removable mounting hooks.
Final Thoughts
Learning how to hang canvas wall art doesn’t need to be difficult. With the right tools, some patience, and this step-by-step guide, you can turn any plain wall into a masterpiece.
From finding the best way to hang canvas wall prints to designing a full gallery wall, every step adds beauty and personality to your home.
So grab your hammer, pick your favorite artwork, and start hanging canvas wall art today. Whether you’re decorating your first home or just refreshing your space, your walls deserve a touch of art and you now know exactly how to do it like a pro!